FileVault 2 is a built-in encryption feature first introduced in OS X Lion. Unlike Microsoft's EFS, which encrypts via the file system, FileVault 2 turns your hard drive into an encrypted volume. Anything stored on your hard drive (or at least the partition of your hard drive running Mac OS X) will then be encrypted.
Don't confuse FileVault 2 with "Legacy FileVault," or simply "FileVault," the earlier version of the feature first introduced in Mac OS X Panther (10.3).
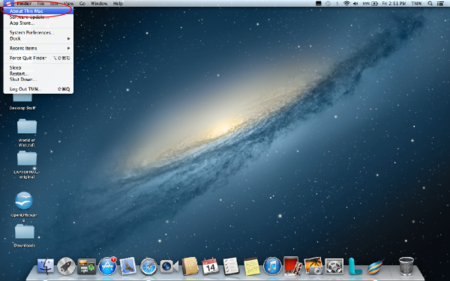
1. Verify that your computer is running Mac OS X Lion (version 10.7) or higher. You can do so by clicking the Apple icon at the upper left of your screen and selecting "About This Mac."
Don't confuse FileVault 2 with "Legacy FileVault," or simply "FileVault," the earlier version of the feature first introduced in Mac OS X Panther (10.3).
1. Verify that your computer is running Mac OS X Lion (version 10.7) or higher. You can do so by clicking the Apple icon at the upper left of your screen and selecting "About This Mac."
2. Make sure you have OS X Recovery downloaded. This is another Mac app that comes with OS X Lion, Mountain Lion and Mavericks, so if you're running one of these operating systems you should be all set.
3. On the desktop, click the Apple icon in the upper lefthand corner.
4. Click on "System Preferences…" from the dropdown menu.
5. From the "System Preferences" window, select the "Security and Privacy" icon in the first row.
6. Select the "FileVault" tab from the "Security & Privacy" window.
7. Under "FileVault," click on the "Turn On FileVault..." button.
You'll then see a new window asking you to choose which user accounts on the computer will be able to access the encrypted volume you're about to create.
8. Click on the gold-colored padlock icon in the lower left corner of the "Security and Privacy" window. You'll be asked to enter the username and password for the administrator account on the computer. Once you do so the gold padlock will switch to look unlocked instead of locked.
9. Choose which user accounts can access the encrypted volume you're about to make.The account from which you're making the volume will be checked by default. If you want any other accounts to have access, manually select them. Make sure these accounts have passwords set before you choose them. When you're done, click "Continue."
10. Restart the Mac. You'll be prompted to do so by a new window. Click the "Restart" button.
 RSS Feed